UPDATED script 4/14/2017. Updates include using mysqli. Tested on PHP 7.0.15 on Ubuntu 16.04LTS.
S3FixExistingMedia.php (don’t use this until you’ve read the post or the comments in the script!).
I’ve used the WP Offload S3 plugin (under a previous name) before and it works well – as long as you set it up before you begin your WordPress blog / site. Apparently they are working on a Pro version that will do what I’m about to discuss below – but this is a solution that works for me immediately. WordPress and Amazon S3 are great friends, let’s get started.
The Issue
How do you get your EXISTING media onto Amazon S3 AND start serving the updated URL on your existing posts?
I found a few people saying to run Regenerate Thumbnails and that will trigger WP Offload S3 to create a folder, and a database record that is essentially the queue for the plugin to serve your image from S3 instead of locally. That works…sort of. It might be part of the process of regenerating the images, but I was getting the images stored in a random folder.
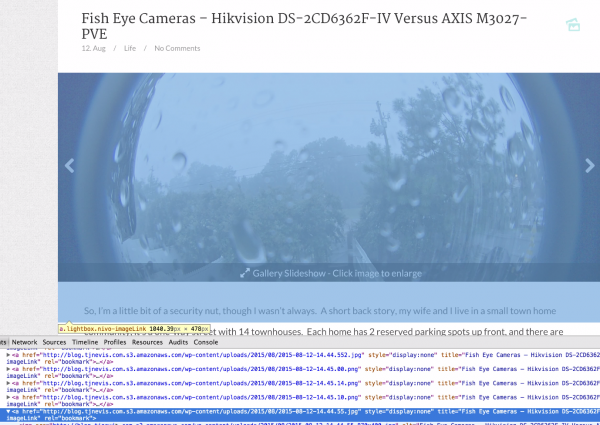
For galleries and maybe other scenarios, this solution works, however, for my site, the post content was still serving locally – such as media I’d added as I built each post, as I would expect most people do.
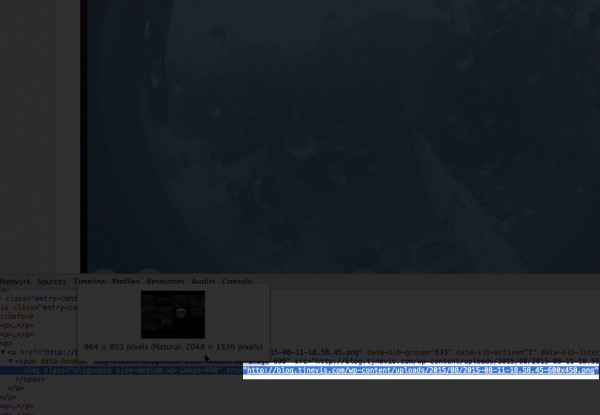
Post content did not update after Regenerate Thumbnails and WP Offload S3…and with the random folder, you can’t do a database find and replace, unless you do it for each year and each month individually
So, I figured out what WP Offload S3 was doing to determine if it could serve an image from S3 or not. Because WP Offload S3 is an amazing plugin, and works well for new media, I didn’t want to reinvent the wheel and do anything crazy to get the existing media to work properly, so I tied into WordPress itself to get $wpdb, and the WP Offload S3 plugin, to get settings.
Install Plugins
By this point you should have WP Offload S3 installed and configured. You can skip down to the Manual Upload section if you’ve done this. If you haven’t, go ahead and install these plugins:
- https://wordpress.org/plugins/amazon-web-services/
- https://wordpress.org/plugins/amazon-s3-and-cloudfront/
You can search for them through the Add New screen in the admin, but this is just the ensure you’re finding these exact plugins.
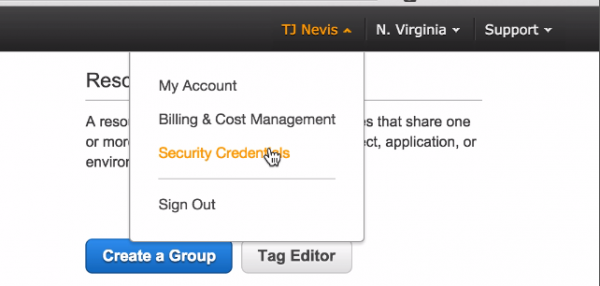
To configure Amazon Web Services, first you must have an Amazon AWS account. I won’t cover signing up for an account here. Go to Security Credentials in the Web Console.
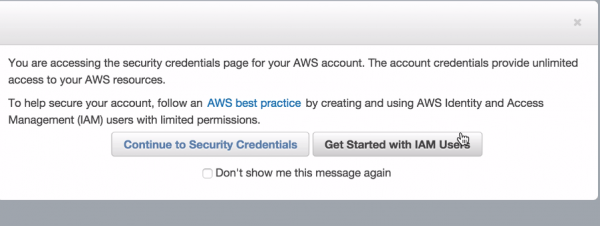
Click Get Started with IAM users
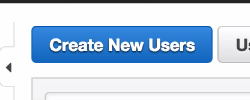
Click Create New Users
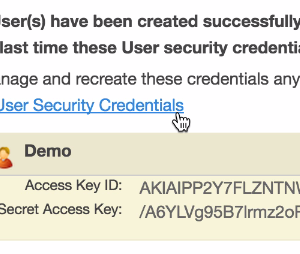
Once you’ve created a user, you’ll have their Access Key ID and Secret Access Key. You only see the secret this one time, so save it somewhere!
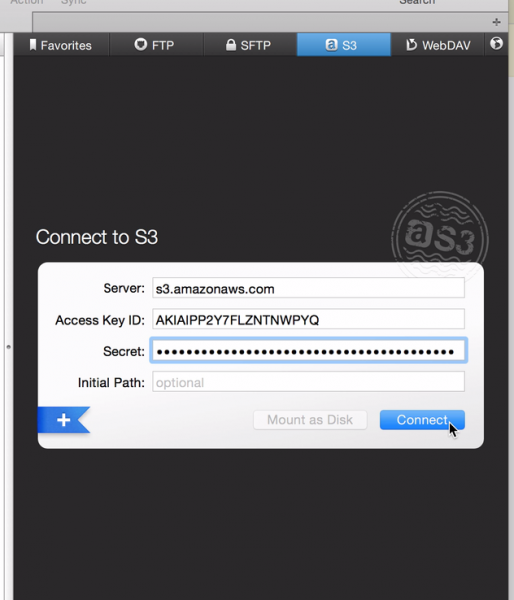
Use this to connect to Amazon S3 in Transmit for Mac.
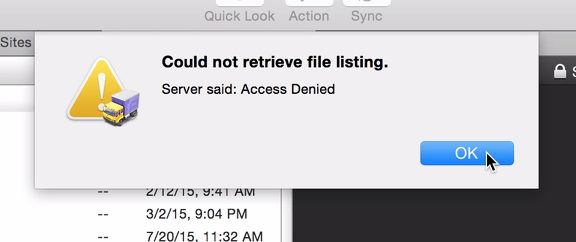
You’ll get an access denied error until you add the user to permission groups.
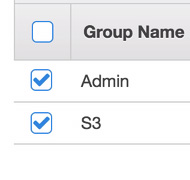
Let’s add this user to Admin and S3.
Manual Upload
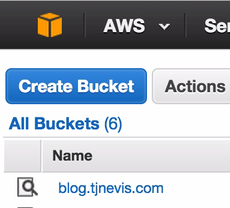
OK, we should all be on the same page, connected to Amazon S3. If you haven’t yet, create a bucket to use for your site images, I’m going to use a bucket name that is just my domain name (blog.tjnevis.com).
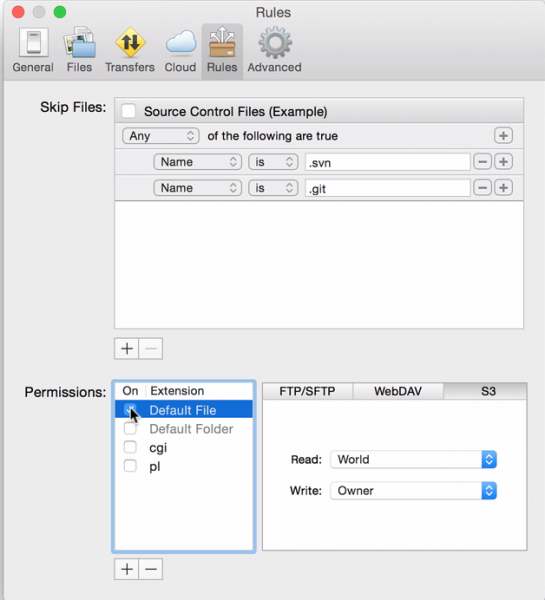
Before you get started, this is a pretty important step. I mean there are ways around it, like setting a bucket policy, or trying to Read: World, Apply To Enclosed (though that didn’t work great for me, it was spotty).
Go up to Transmit > Preferences, Rules, select the S3 sub-tab (bottom right), click Default File and choose Read World.
If you’re not using Transmit for Mac, make sure to either set a bucket policy for World read on your images, or know how to update the access for all of your images using the program you’re using to connect to S3.
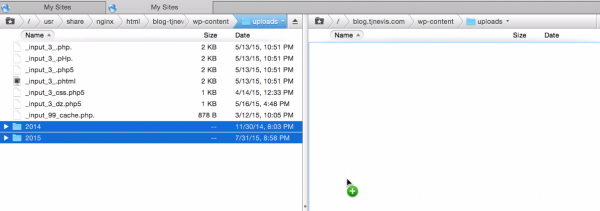
Now, we’re going to use S3 just like an FTP connection. Create 2 folders wp-content and uploads. Within uploads, drag over your folders from your live site. I’m going to keep the files on my current server, so I always have the option to go back to normal if I want. The script has an option to remove the updates and go back to normal which I’ll show you soon.
This could take a while. When you’re done, move onto The Script.
The Script – S3FixExistingMedia.php
The script I built isn’t fully tested, I haven’t tested it on Windows Server, I developed on an Ubuntu Linux 14.04.3 LTS machine. It shouldn’t do any damage to your site – if commands are going to work, they should all work, and if they aren’t, maybe you have an old version of PHP, or you didn’t put the script in your root directory, you’ll either see errors or a white screen. That just means there was an error and nothing happened. If it works, you’ll see messages output to you. Also, there’s an option to roll back the changes we’re making, so you can return to normal if you want or if there is some issue.
FAIR WARNING, this script is not fully tested, though I have written that a MySQL database dump be written to your root folder, where the script must live. DELETE THIS IF EVERYTHING WORKS WELL WHEN DONE, or at least remove it from your server – save it locally. Also delete the S3FixExistingMedia.php script when done!
Turn caching off – you can turn it back on after the updates are done.
Upload S3FixExistingMedia.php to your root directory (where wp-config.php is). Then point your browser at the URL.
To remove the updates, add the query string ?remove=true, so in my case, https://blog.tjnevis.com/S3FixExistingMedia.php?remove=true.
That’s it! This blog post seems long, but most of it getting everyone on the same page and talking about some warnings. The gallery and post content are updated. If you roll back the changes, you’ll be back to serving the images locally.


